Welcome! Email us if you have any questions.
Fast Shipping! We understand your urgency. Learn More
We understand your urgency; processing orders quickly so you can get your door back up and running smoothly.
Leave the worries of product quality behind, so you can focus on more important things, like fixing your garage door with ease.
We have everything essential to get your true "main door" back up and running.
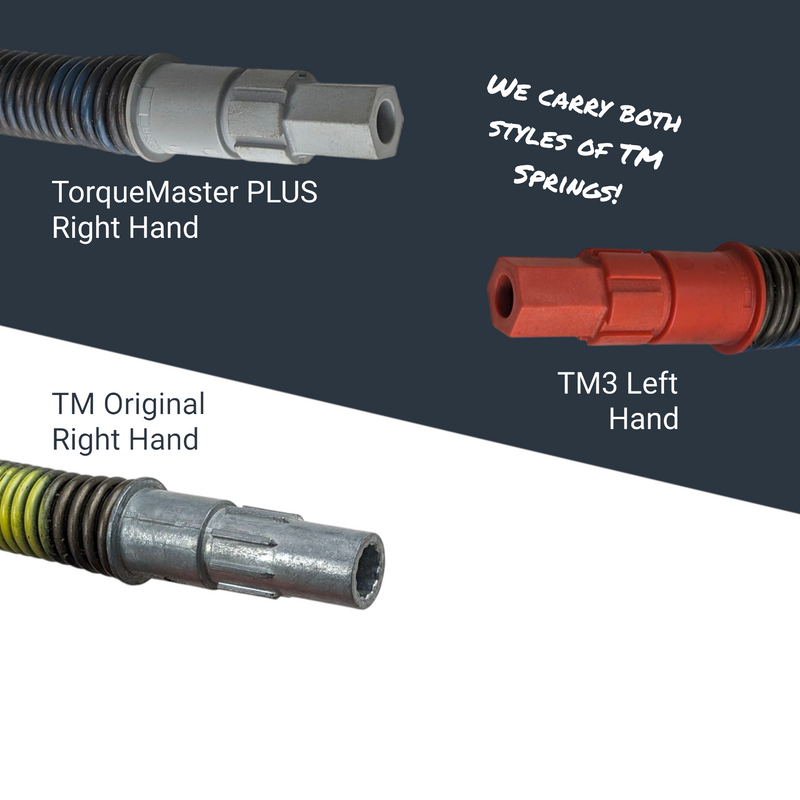
Springs
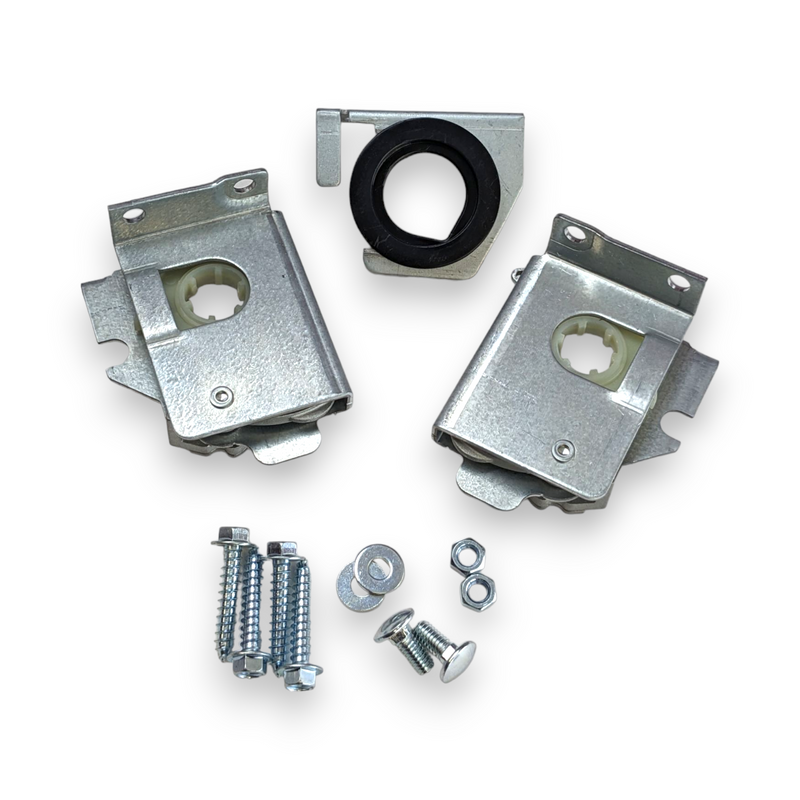
Parts
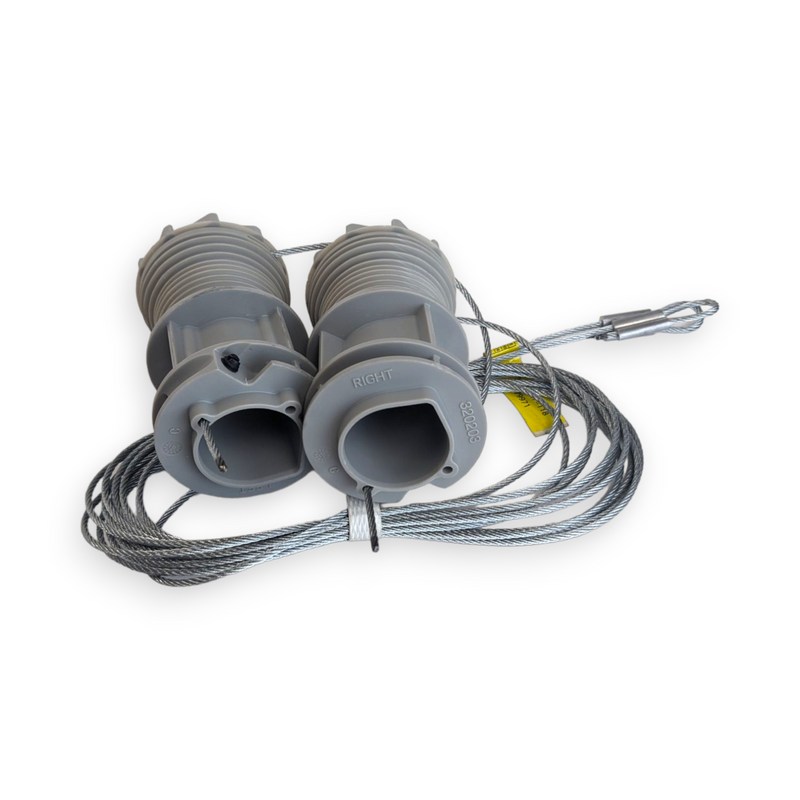
Cables | Drums
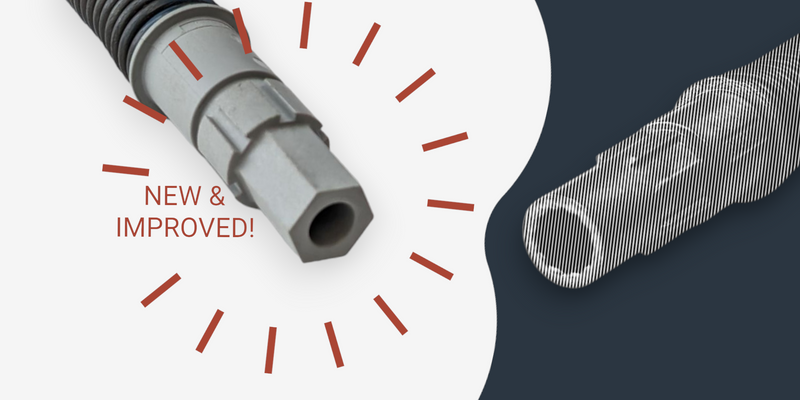
Convert to TM Plus
All Springs
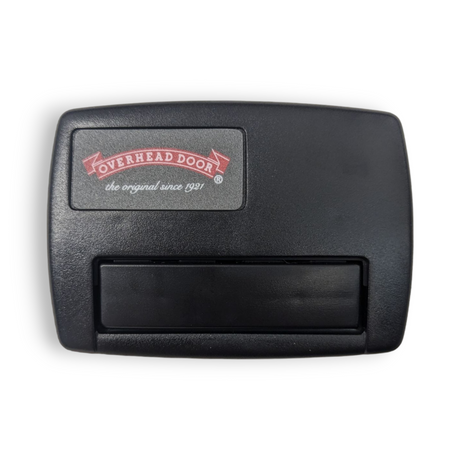
Remotes
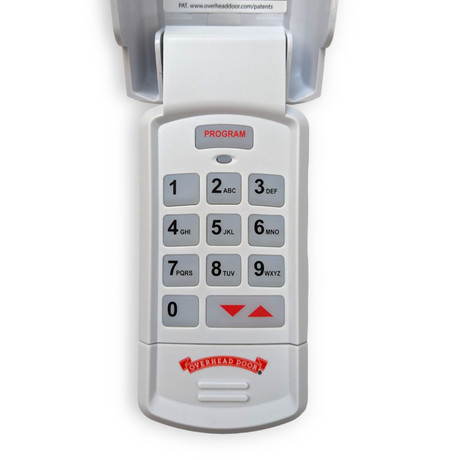
Keypads
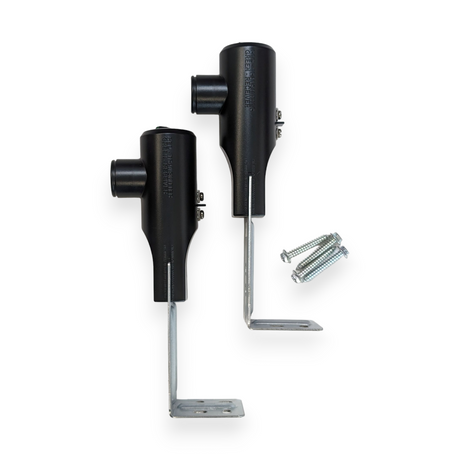
Safety Systems
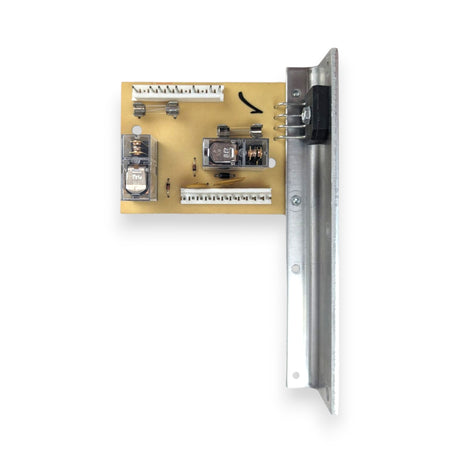
Circuit Boards
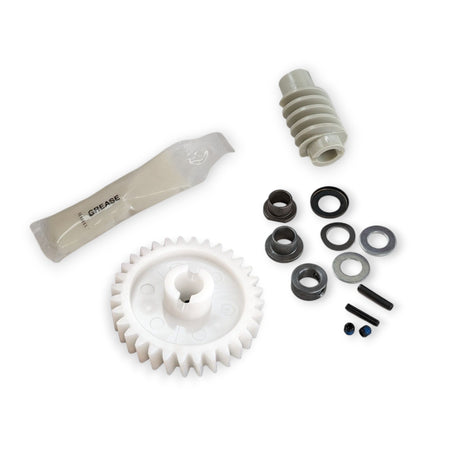
Gears & Sprockets
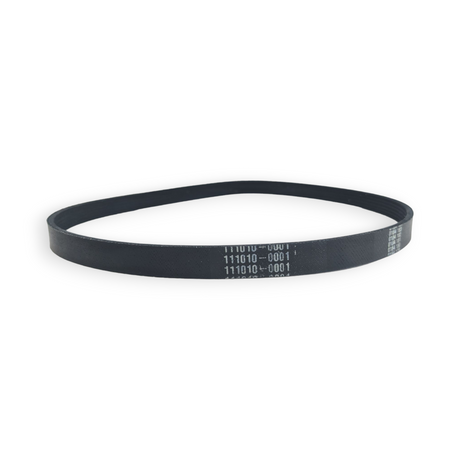
Belts
Your cart is empty
Subtotal:$0.00 USD
Loading...
Visit our support center
Expert help & advice
Check Tracking Status
In the Chat box
Returns & exchanges
All you need to know